Table of Contents
When you perform a reboot to improve network performance, you may need to reconnect Wi-Fi after router restart manually for some of your devices. While many gadgets aim to pick up the signal automatically, others may experience delays due to IP address lease changes or temporary memory clears. This guide provides a systematic approach to restoring your internet access across all your hardware, ensuring a smooth transition after your network refreshes.
Understanding Effects to Reconnect Wi-Fi After Router Restart
When a router is restarted, several significant changes occur within the local network that affect all connected devices. Primarily, a router facilitates communication between devices and the internet, acting as a gateway for data transmission. Upon restart, the router clears its temporary memory, also known as the cache, where it stores essential routing information. This ensures that the system begins anew, potentially resolving connectivity issues or improving performance.
One immediate effect of restarting the router is that all connected devices may lose their internet connection. As the router resets, it may take a brief period for it to become fully operational again. Devices that were previously connected to the network will need to re-establish their connections, which can lead to temporary disconnection symptoms. Users may notice that their smartphones, tablets, or computers trigger a message indicating they are not connected to the internet, even though the devices were operating normally prior to the restart.
Furthermore, the router’s settings and configurations are essential for maintaining stable connections. For instance, if a device is set to use DHCP (Dynamic Host Configuration Protocol) for obtaining an IP address, it will require a new lease from the router after a restart. Devices may face delays or failures in connectivity stemming from this process. On the other hand, connections set with a static IP might face fewer issues but can still be impacted by any changes in router settings during the restart.
In essence, a router restart is a crucial function that can enhance network performance but may also temporarily disrupt connectivity for all devices linked to the network. Understanding these impacts can help users anticipate possible issues and take proactive steps to reconnect their devices effectively after the router is rebooted.
Device Guide to Reconnect Wi-Fi After Router Restart
In the event of a router restart, reconnecting your devices to the Wi-Fi network can be a straightforward process if followed step-by-step. Below is a guide tailored for common devices such as smartphones, laptops, and smart home appliances.
Smartphones: To reconnect your smartphone to Wi-Fi after a router restart, begin by unlocking your device and navigating to the Settings application. Within the settings menu, locate the Wi-Fi option and tap on it to view available networks. Select your Wi-Fi network from the list and input the password, if prompted. Once your device shows as connected, test the connection by browsing the internet or using an app that requires Wi-Fi.
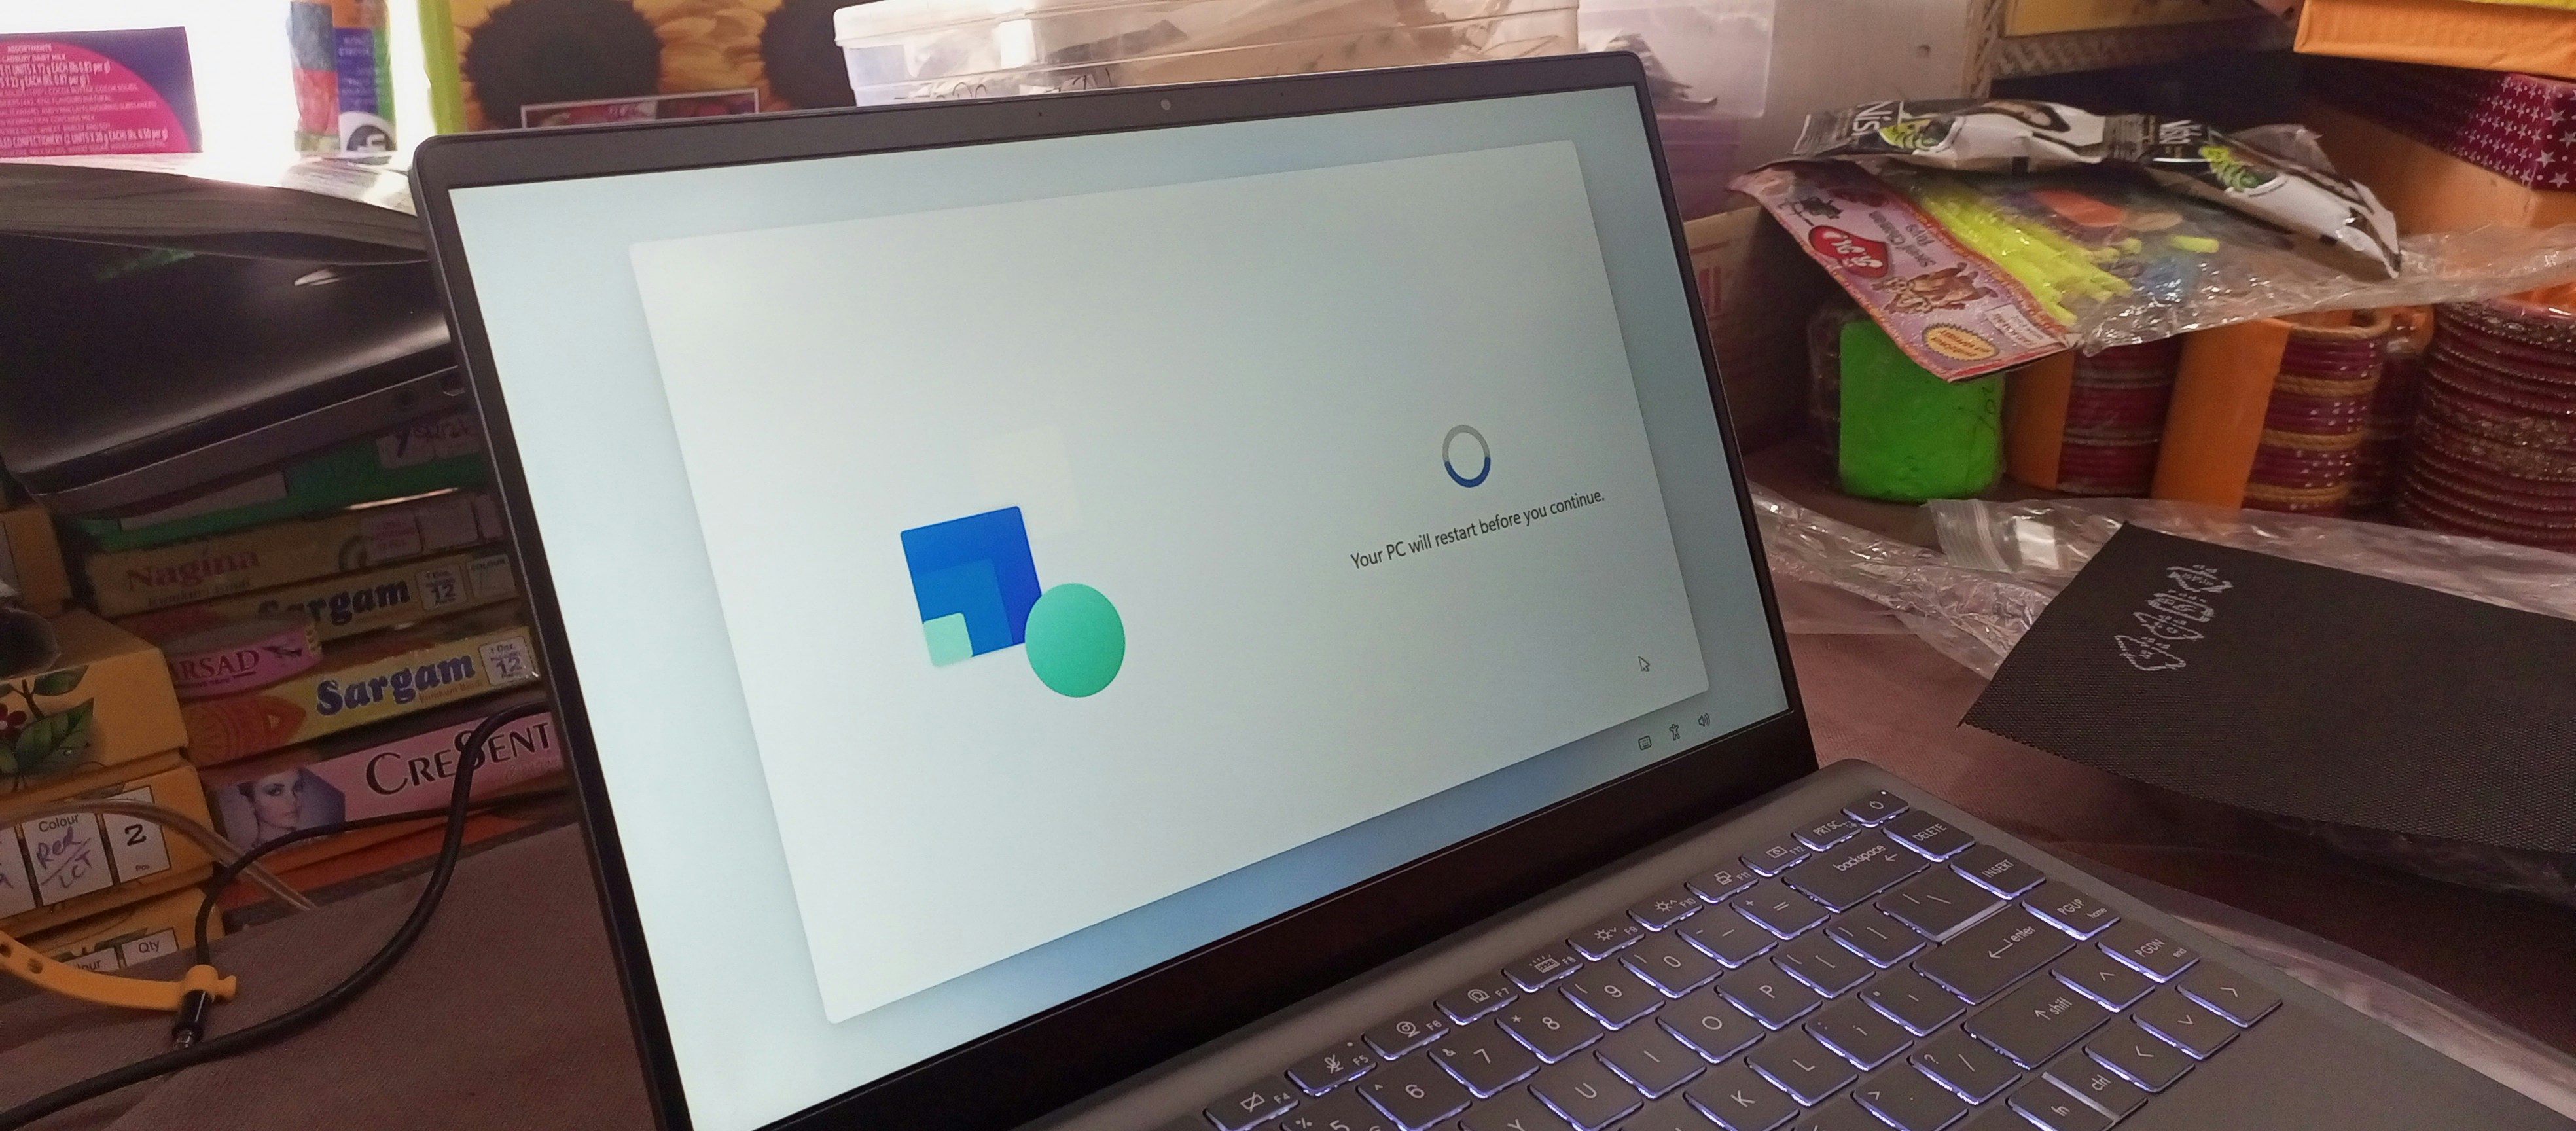
Laptops: When reconnecting a laptop to Wi-Fi, click on the network icon in the system tray, usually located at the bottom right corner of the screen. This action will display a list of available networks. Choose your specific Wi-Fi network and, if necessary, enter the appropriate password. After a successful connection, ensure that your laptop can access the internet by opening a web browser.
Smart Home Devices: For devices such as smart speakers, smart TVs, or security cameras, refer to the specific manufacturer’s app for reconnection. Most smart devices will automatically attempt to reconnect to the last known network upon a router restart. However, if they do not, open the respective app and follow the prompts to connect to your Wi-Fi network. This may involve ensuring the device is powered on, checking Wi-Fi settings, and confirming passwords.
By following these systematic steps, you can effectively reconnect any of your devices to the Wi-Fi network, ensuring smooth operation following a router restart.
Checking Network Settings and DNS Configuration
After a router restart, it is essential to verify the device’s network settings to ensure that your connection is correctly configured. The first step involves accessing your device’s network preferences, which can typically be found in the Settings menu. Look for the section labeled “Network” or “Wi-Fi” to see if your device is still connected to the desired network. If not, select the appropriate Wi-Fi network and re-enter the password if prompted.
In some cases, your device may automatically reconnect without assistance, but there may be instances where manual intervention is required. It is crucial also to check whether the network adapter is enabled; this can usually be accomplished within the same settings menu. If the adapter is disabled, enabling it should restore your connection.
An important aspect of troubleshooting connectivity issues involves reviewing the DNS (Domain Name System) settings. Sometimes, the default DNS settings can lead to inefficient browsing or failed connections, especially after changes made during a router restart. To check your DNS configuration, navigate to the network settings of your device and look for the option labeled “DNS.” Here, you’ll have the option to specify an alternative DNS server.
Popular public DNS services include Google’s Public DNS (8.8.8.8 and 8.8.4.4) and Cloudflare’s DNS (1.1.1.1). Entering these addresses can help resolve connectivity issues that arise due to misconfigured DNS settings. Once these changes are made, remember to save your settings and restart your device to see if connectivity returns to normal.
Re-adding the Wi-Fi Network on Devices
After restarting the router, it is not uncommon for devices to experience issues reconnecting to the Wi-Fi network. Should such problems arise, it may be necessary to re-add the Wi-Fi network manually on the device. Below, we outline the steps to effectively forget the existing connection, scan for available networks, and reconnect using the correct password.
To begin with, access the settings menu on your device. The exact path may vary depending on the device type. For instance, on a smartphone, navigate to the Wi-Fi settings section. Here, you will see a list of available Wi-Fi networks. Locate your existing Wi-Fi network and select it. Once highlighted, there should be an option to “Forget this network.” By selecting this option, the device will remove the saved configurations associated with the Wi-Fi network.
After forgetting the network, the next step is to scan for networks. Many devices will automatically initiate a scan for available Wi-Fi networks once you are in the Wi-Fi settings menu. If it does not, look for a button labeled “Scan” or simply enable the Wi-Fi toggle to begin the scanning process manually. When the scanning is complete, your Wi-Fi network should appear in the list of available connections. If multiple networks are present, ensure to select the correct one to avoid connecting to a neighbor’s or public Wi-Fi.
Upon selecting the correct Wi-Fi network, you will be prompted to enter the password. It is crucial to input the password accurately, as even minor typographical errors can result in a failed connection. Once the correct password is entered, the device should attempt to establish a connection. If successful, your device will reconnect to the Wi-Fi network, allowing hassle-free internet access once again.
If you are starting from the beginning with a new device, you can find a massive guide on How to Set Up a Home Wi-Fi Network from Scratch.
Pingback: How to Fix Wi-Fi Not Working on Your Laptop
Pingback: 7 Critical Steps to Update Windows 11 Safely: The Complete Walkthrough
Pingback: How to Connect Multiple Devices to Wi-Fi Safely: 7 Expert Tips
Pingback: 8 Proven Steps to Fix Wi-Fi Not Working on Your Laptop: The Complete Walkthrough