Table of Contents
It is a common frustration when your internet drops out, but learning how to fix Wi-Fi not working on your laptop is a straightforward process. Connectivity issues can stem from simple setting toggles, hardware glitches, or outdated software. By following a systematic approach—verifying your connection settings and refreshing your hardware—you can resolve most wireless problems and restore your connection.
Verifying Airplane Mode on Your Laptop
In situations where your laptop’s Wi-Fi is non-functional, one of the first steps is to check whether it is inadvertently set to airplane mode. This mode is designed to turn off all wireless communications, making it essential to verify its status. Below, we outline the procedures to check and disable airplane mode for both Windows and macOS operating systems.
For Windows Users:
If you are using a Windows laptop, you can quickly check airplane mode by following these steps:
- Locate the Action Center icon on the taskbar, typically found at the bottom right corner of your desktop. It looks like a speech bubble.
- Click on the Action Center icon to open a panel. Look for the airplane icon within the quick settings area.
- If the airplane mode icon is highlighted or shows that it is activated, simply click on it to turn it off. The icon should become grayed out, indicating that airplane mode is disabled.
- To further ensure that your Wi-Fi connection is on, you can check the Network settings by clicking on the Wi-Fi icon next to the Action Center icon. Ensure that Wi-Fi is toggled on.
For macOS Users:
For those utilizing macOS, checking airplane mode is slightly different:
- Click on the Apple menu located in the top-left corner of your screen, then navigate to ‘System Preferences.’
- Select ‘Network’ from the System Preferences window. In the left pane, look for the Wi-Fi option.
- If your Wi-Fi is turned off, you will need to click the ‘Turn Wi-Fi On’ button. Ensure that airplane mode is not activated, as macOS does not have a specific airplane mode toggle like Windows.
By confirming that your laptop is not in airplane mode, you can eliminate one of the potential reasons your Wi-Fi connectivity is compromised. This simple check can save time and direct your troubleshooting efforts more effectively.
Reset Network Adapter to Fix Wi-Fi Not Working
The network adapter is a critical component of your laptop that allows it to connect to the internet, typically through Wi-Fi or Ethernet connections. It acts as a bridge between your device and your network. When you encounter issues with your Wi-Fi connection, such as slow speeds or disconnections, resetting the network adapter can often resolve these problems. This process essentially refreshes the settings, removes temporary glitches, and can restore your internet connectivity.
To reset your network adapter on a Windows laptop, follow these steps: 1. Click on the “Start” menu and select “Settings”. 2. Navigate to “Network & Internet”. 3. Click on “Status”, and scroll down to find “Network reset”. 4. Click on “Reset now”, and confirm when prompted. This will remove and reinstall network adapters and set other networking components back to their original settings. 5. Restart your laptop after the process completes.
If you’re using a macOS device, you can reset your network adapter by: 1. Clicking on the Apple logo in the top left corner and selecting “System Preferences”. 2. Selecting “Network”. 3. From the list on the left, choose your Wi-Fi adapter and click the minus sign (-) to remove it. 4. Click the plus sign (+) to add a new network interface, choose “Wi-Fi” from the dropdown list and click “Create”. 5. Finally, click “Apply” to save your changes.
Resetting your network adapter is a simple yet effective way to eliminate Wi-Fi connectivity issues on your laptop. It can help rectify various underlying problems and start anew with your network settings.
Restart the Router
When faced with Wi-Fi connectivity issues on your laptop, one of the most effective initial steps is to restart the router. This process can resolve a myriad of connectivity problems by refreshing your router’s connection to the internet and re-establishing the connection to your devices. Notably, restarting the router can also clear any temporary glitches that may be hindering network performance.
To safely restart your router, you should begin by locating the power button, which is typically situated on the back or side of the device. If your router does not have a power button, simply unplugging the device from its power source will suffice. Wait for approximately 30 seconds before reconnecting the power or pressing the power button. This pause allows the router to complete the reset process effectively.
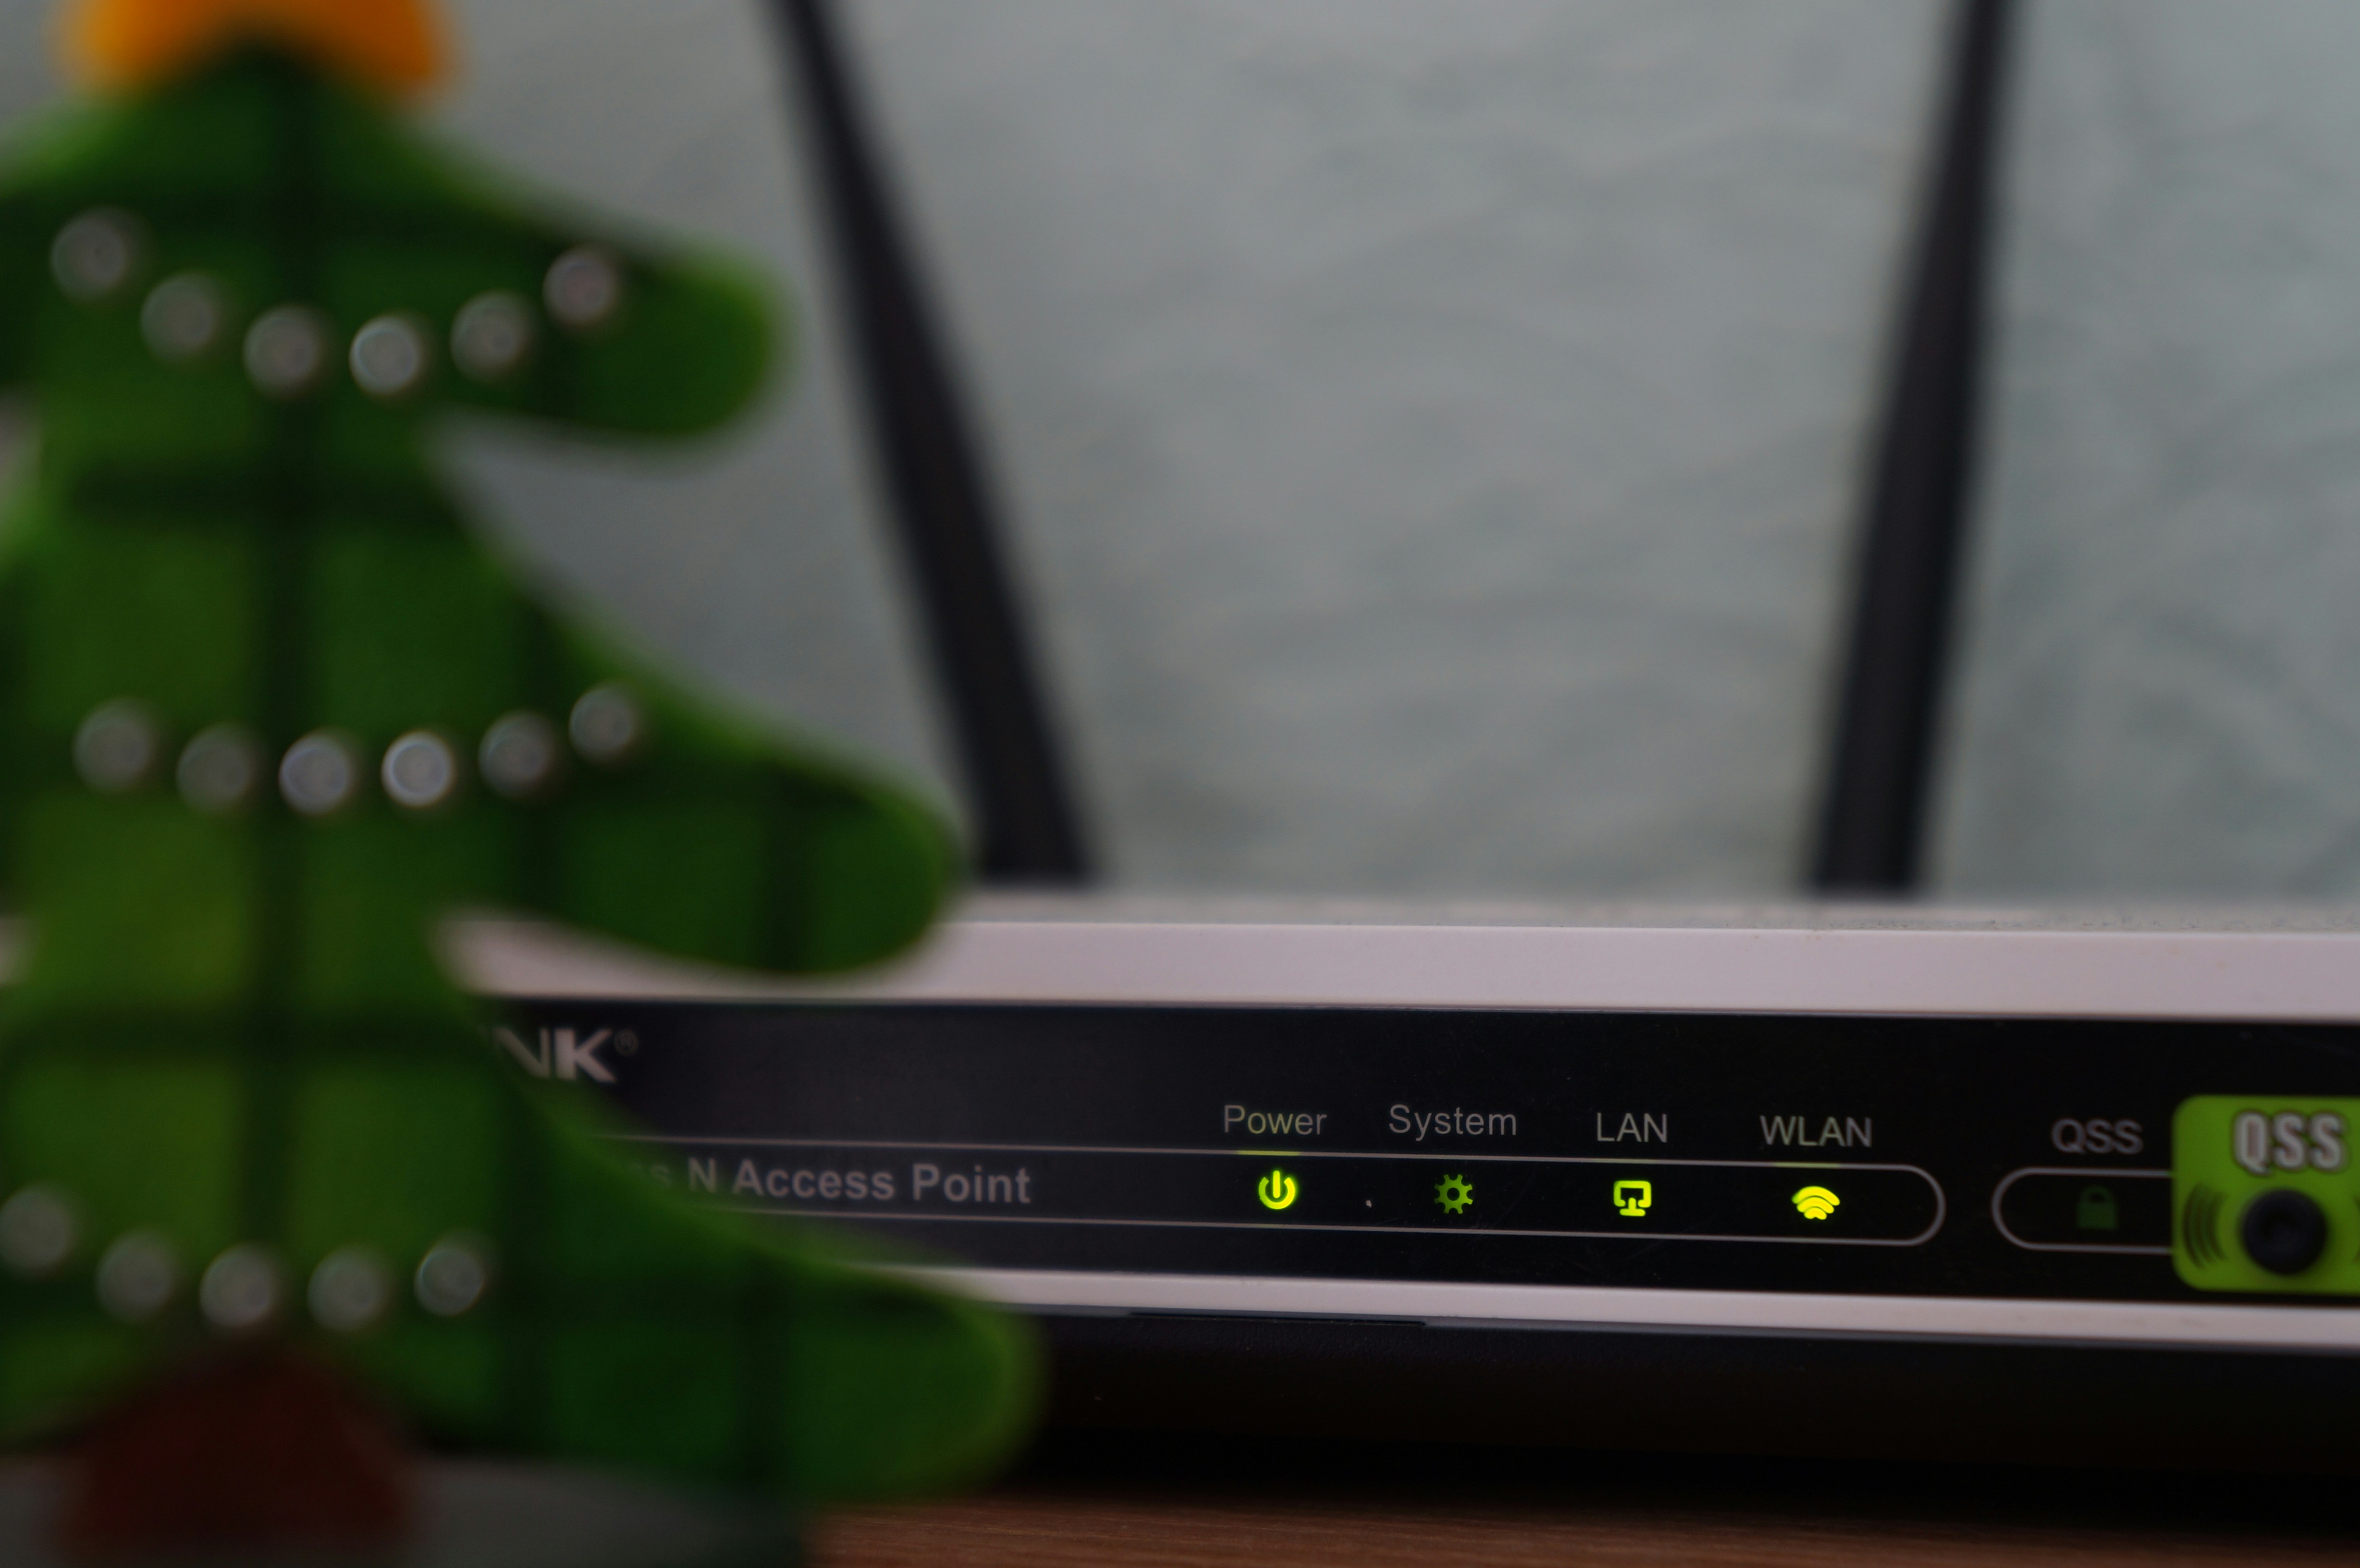
After the router powers back on, it may take several moments for it to fully reboot. During this time, observe the status lights on your router; typically, a solid green light indicates a stable and functioning connection, while blinking or red lights may signal ongoing issues. It is important to wait until all status lights are stable before attempting to connect your laptop to the Wi-Fi network again.
To ensure a stable Wi-Fi connection after restarting your router, position the router in a central location within your home or office, away from obstructions that may interfere with the signal. Additionally, consider changing the router’s channel settings via its configuration web page if interference from nearby networks is suspected. Implementing these practices will help to enhance your Wi-Fi experience, allowing for smooth and uninterrupted connectivity.
For more detailed instructions on connecting your device after a power cycle, check out our guide on How to Reconnect Wi-Fi After Router Restart.
Update Wi-Fi Drivers
Keeping your laptop’s Wi-Fi drivers up to date is essential for optimal performance. Outdated drivers can lead to connectivity issues, slow network speeds, or complete loss of Wi-Fi access. Therefore, regularly checking and updating these drivers should be a key aspect of your Wi-Fi troubleshooting strategy.
To verify if your drivers are outdated, open the device manager on your laptop. You can access this by searching for “Device Manager” in the Start menu. Once there, locate “Network adapters,” and find your Wi-Fi device in the list. Right-click on it and select “Properties” to check the driver version. You can compare this version with the latest updates available from the manufacturer’s website.
If you determine that your drivers need an update, you can find the appropriate updates using different methods, depending on your operating system. For Windows laptops, you often have the option to automatically update drivers through the Device Manager. In the same context menu where you checked the driver version, you will see an option labeled “Update driver.” Opt for the automatic search for updated driver software. This feature will allow Windows to search the internet for the latest drivers for your specific Wi-Fi hardware.
For Mac users, driver updates typically occur with system updates. Navigate to “System Preferences,” select “Software Update,” and install any available updates. This will ensure that both your operating system and all its associated drivers, including Wi-Fi, are current.
In conclusion, regularly updating your laptop’s Wi-Fi drivers is crucial for maintaining reliable and efficient connectivity. Make it a habit to check for updates periodically, as this simple task can significantly enhance your overall internet experience.
For further official support and detailed troubleshooting steps directly from the manufacturers, you can visit the following external resources:
- Microsoft Support: Fix Wi-Fi connection issues in Windows.
- Apple Support: If your Mac isn’t connecting to the internet over Wi-Fi.