Table of Contents
Is your computer feeling a bit sluggish lately, or are you running into persistent system glitches that just won’t go away? Sometimes, the best solution is a fresh start. Fortunately, performing a Windows 11 reset doesn’t have to mean saying goodbye to your precious photos, documents, and personal data.
In this guide, we’ll walk you through the systematic process of refreshing your operating system while keeping your important files right where they belong. Whether you’re looking to boost performance or troubleshoot an error, mastering the Windows 11 reset is a vital skill for maintaining a healthy, efficient digital workspace.
Before we dive into the step-by-step instructions, let’s look at the essential first step: ensuring your data is securely backed up.
Backing Up Your Data Before Resetting
Prior to initiating a reset of Windows 11, it is imperative to perform a thorough backup of all important files and data. This precautionary measure ensures that essential documents, photos, videos, and other critical information are secured and can be easily restored after the reset process. There are several methods available for backing up your data, ranging from built-in Windows tools to third-party solutions.
The primary built-in tool in Windows 11 for backing up files is File History. This feature facilitates the automatic backup of files stored in libraries, desktop, and contacts folder to an external storage device or network location. To activate File History, connect an external drive to your computer, navigate to the Settings menu, and select “Update & Security” followed by “Backup.” From here, you can turn on File History and select your backup drive. Once configured, File History regularly saves copies of your files, allowing for easy recovery in case of data loss.
Besides File History, Windows 11 offers the “Backup settings” which allow users to create a complete system image. This can be particularly useful if you want to restore your entire system, including Windows settings and applications, after the reset. Users can access this feature by navigating to “Control Panel” > “Backup and Restore (Windows 7)” and selecting the option to create a system image.
If built-in solutions do not meet your needs, several reputable third-party backup software options are available. Programs such as Acronis True Image, EaseUS Todo Backup, and Macrium Reflect provide user-friendly interfaces and advanced features for backing up your data comprehensively.
In conclusion, backing up your data before resetting Windows 11 is essential to prevent potential data loss. Utilizing Windows tools like File History or third-party applications ensures that your important files remain safe and accessible after the reset process.
Understanding the ‘Keep My Files’ Option
The ‘Keep my files’ option is a pivotal component of the Windows 11 reset process, designed to help users address performance issues without losing personal data. Selecting this option allows users to restore their system settings to factory defaults while retaining essential files, which can be a significant advantage when experiencing software-related problems.
When utilizing the ‘Keep my files’ feature, the system will remove installed applications, but crucially, it will preserve personal documents, photographs, videos, and music that are stored in the user profile folders. This is in contrast to the ‘Remove everything’ option, which wipes both personal files and applications, providing a clean slate but at the cost of user data. Understanding this differentiation is vital for individuals who wish to maintain their personal information while achieving system efficiencies.
It is important to note, however, that not all files and applications will survive the reset. For instance, applications not pre-installed with Windows 11 will be uninstalled and need to be reinstalled afterward. Users should also be aware that certain settings—like Wi-Fi credentials and personalized preferences—will revert to their defaults. To effectively manage this reset process, it is advisable for users to back up essential files, particularly those stored outside the standard folders, in case of unexpected outcomes.
In conclusion, the ‘Keep my files’ option offers a balanced solution for those needing a system reset while safeguarding crucial data. Proper understanding of this option ensures that users can make informed decisions during the reset process, setting the stage for trouble-free maintenance of their Windows 11 experience.
Steps to Reset Windows 11 While Keeping Your Files
Resetting Windows 11 while preserving your personal files is a straightforward process that can often resolve performance issues, errors, or system glitches. To begin this process, follow the steps outlined below:
Step 1: Access Settings
Start by clicking on the Start button located in the taskbar. From the menu, select Settings (the gear icon). Alternatively, you can quickly access settings by pressing the Windows + I keys on your keyboard.
Step 2: Navigate to System
In the Settings window, look for the System option on the left sidebar. Click on it, which will bring up a series of system-related settings.
Step 3: Choose Recovery
Scroll down the System settings until you find the Recovery section. Click on it to reveal recovery options, which include resetting your PC.
Step 4: Initiate the Reset
Under the Recovery menu, locate the Reset this PC option. You will see a Reset PC button; click on it to proceed.
Step 5: Select the Option to Keep Files
You will be presented with two options: Keep my files and Remove everything. Since the goal is to reset Windows 11 while keeping your files, select Keep my files. This will ensure that your personal data remains intact.
Step 6: Follow the Prompts
After selecting Keep my files, you will need to follow a series of prompts that may include confirming your selection and understanding what will happen during the reset process. Read through the information presented, as it outlines the applications that will be removed and the changes that will be made.
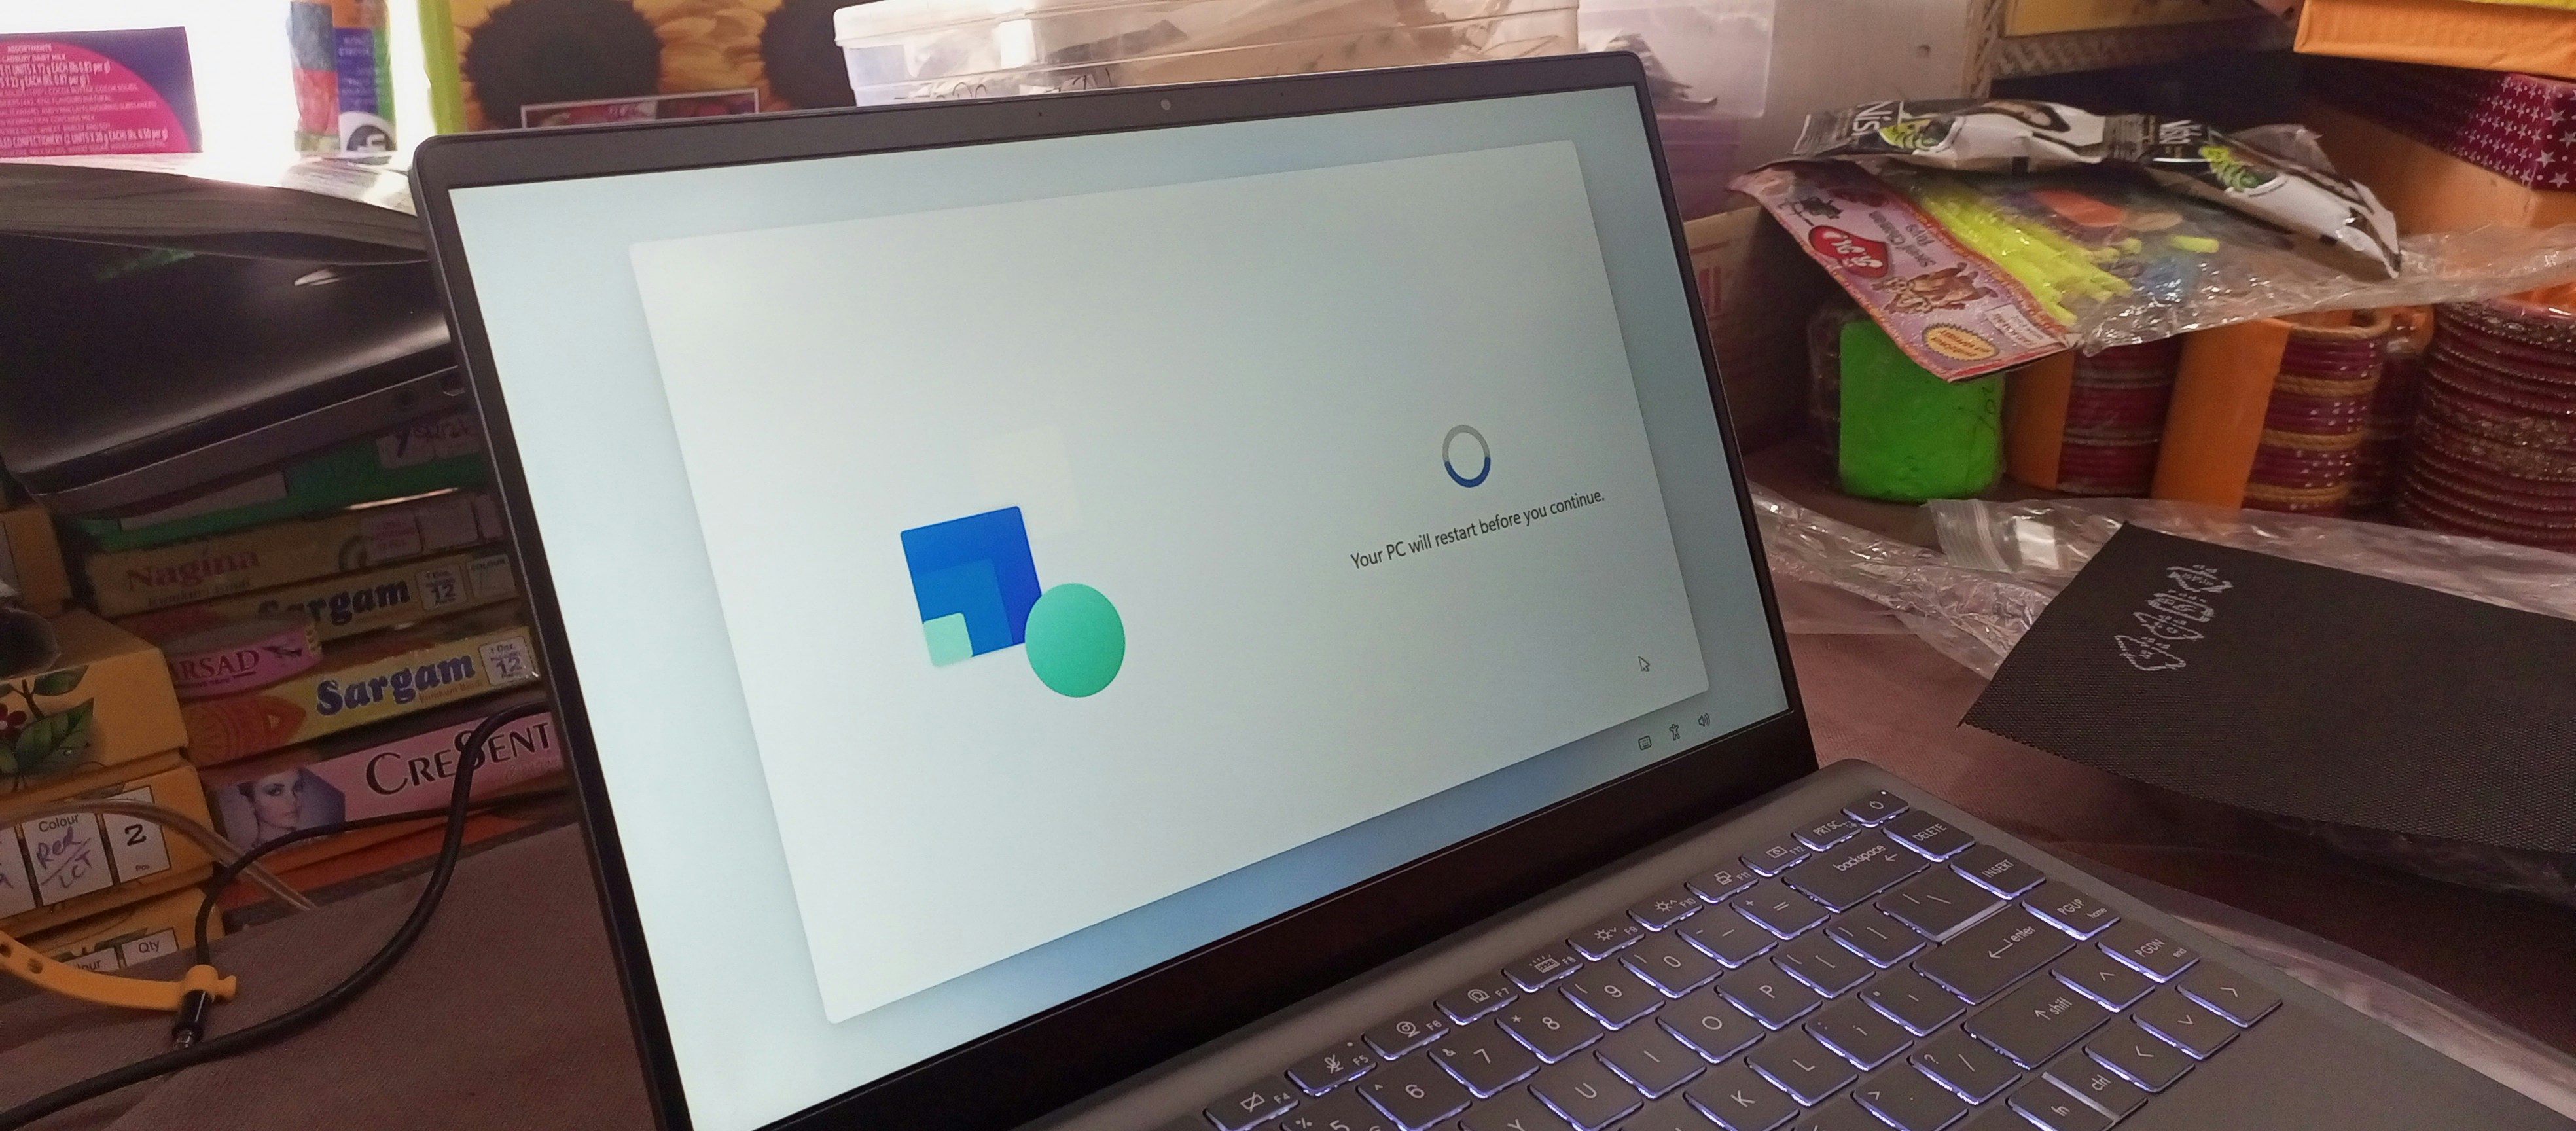
Step 7: Complete the Reset
Once you have reviewed all the information, click Reset to begin the process. Your computer will then restart, and Windows 11 will perform the reset, which could take some time. Ensure your device is plugged into a power source throughout this procedure.
After these steps, your system will restart, and Windows 11 will be refreshed without deleting your files. This systematic approach helps users confidently undertake the reset process without concern, while retaining personal data for subsequent use.
Setting Up Windows Again After the Reset
Once the reset process of Windows 11 is complete, users are greeted by a fresh installation of the operating system, prompting them to configure a range of settings. The first step involves selecting the appropriate language, keyboard layout, and region, which are essential for personalizing your experience and ensuring compatibility with local services.
Following the initial preferences, you will be presented with the option to sign in with a Microsoft account or create a local account. Opting for a Microsoft account can streamline the setup, allowing access to cloud services, synced settings, and the Microsoft Store for application downloads. After this, the device may require some moments to finalize the configuration, with updates being downloaded and installed during this stage.
Once the basic setup is finalized, users should focus on reinstalling applications that were previously in use. This may involve redownloading software from the Microsoft Store or third-party sites. It is advisable to keep all software up to date to ensure performance and security. Additionally, restoring files from backups—whether they were created before the reset or saved to cloud services—can easily be accomplished through file restoration options within Windows 11.
To optimize the performance of the newly set up Windows 11, users should consider customizing startup programs and disabling unnecessary background applications. Regularly checking for updates and performing routine maintenance, such as disk clean-up and defragmentation, can further enhance system efficiency. Users may also want to delve into Windows settings to adjust visual effects and manage power options tailored to their needs, ultimately ensuring a smooth and enhanced computing experience post-reset.
To keep your computer running at its peak once the refresh is complete, check out our expert guide on Windows Performance Optimization: 5 Effective Ways to Speed Up Your PC for the best post-reset tuning tips.