Checking the Power Supply
The first step in troubleshooting a router involves checking its power supply, which is crucial for its operation. Begin by inspecting the power cable connected to the router. Look for any visible signs of wear, fraying, or damage that may affect the flow of electricity. A compromised power cable could lead to intermittent connectivity issues or complete router failure.
Next, ensure that the power adapter is securely plugged into both the router and the electrical outlet. Sometimes, receptacles may become loose over time, leading to an unstable power supply. To diagnose this, plug another device into the same outlet to confirm that it is functioning correctly. If the outlet is not providing power, consider checking your circuit breaker or using an alternative outlet.
If the power cable and outlet appear to be in order, observe the indicators on the router itself. Most routers are equipped with LED lights that signal their operational status. A powered-on router should display a steady power light, indicating that it is receiving electricity. If the power light is off or blinking erratically, this could indicate a problem with the power supply or an internal issue with the router.
In addition, examine the area around the router for thermal abnormalities. Overheating can affect a router’s performance and may be an indication of electrical issues. Ensure that the device has adequate ventilation and is placed in a cool area. By systematically checking these factors, you can determine whether power supply issues are at the root of your router problems, enabling you to take appropriate next steps in the troubleshooting process.
Observing LED Indicators
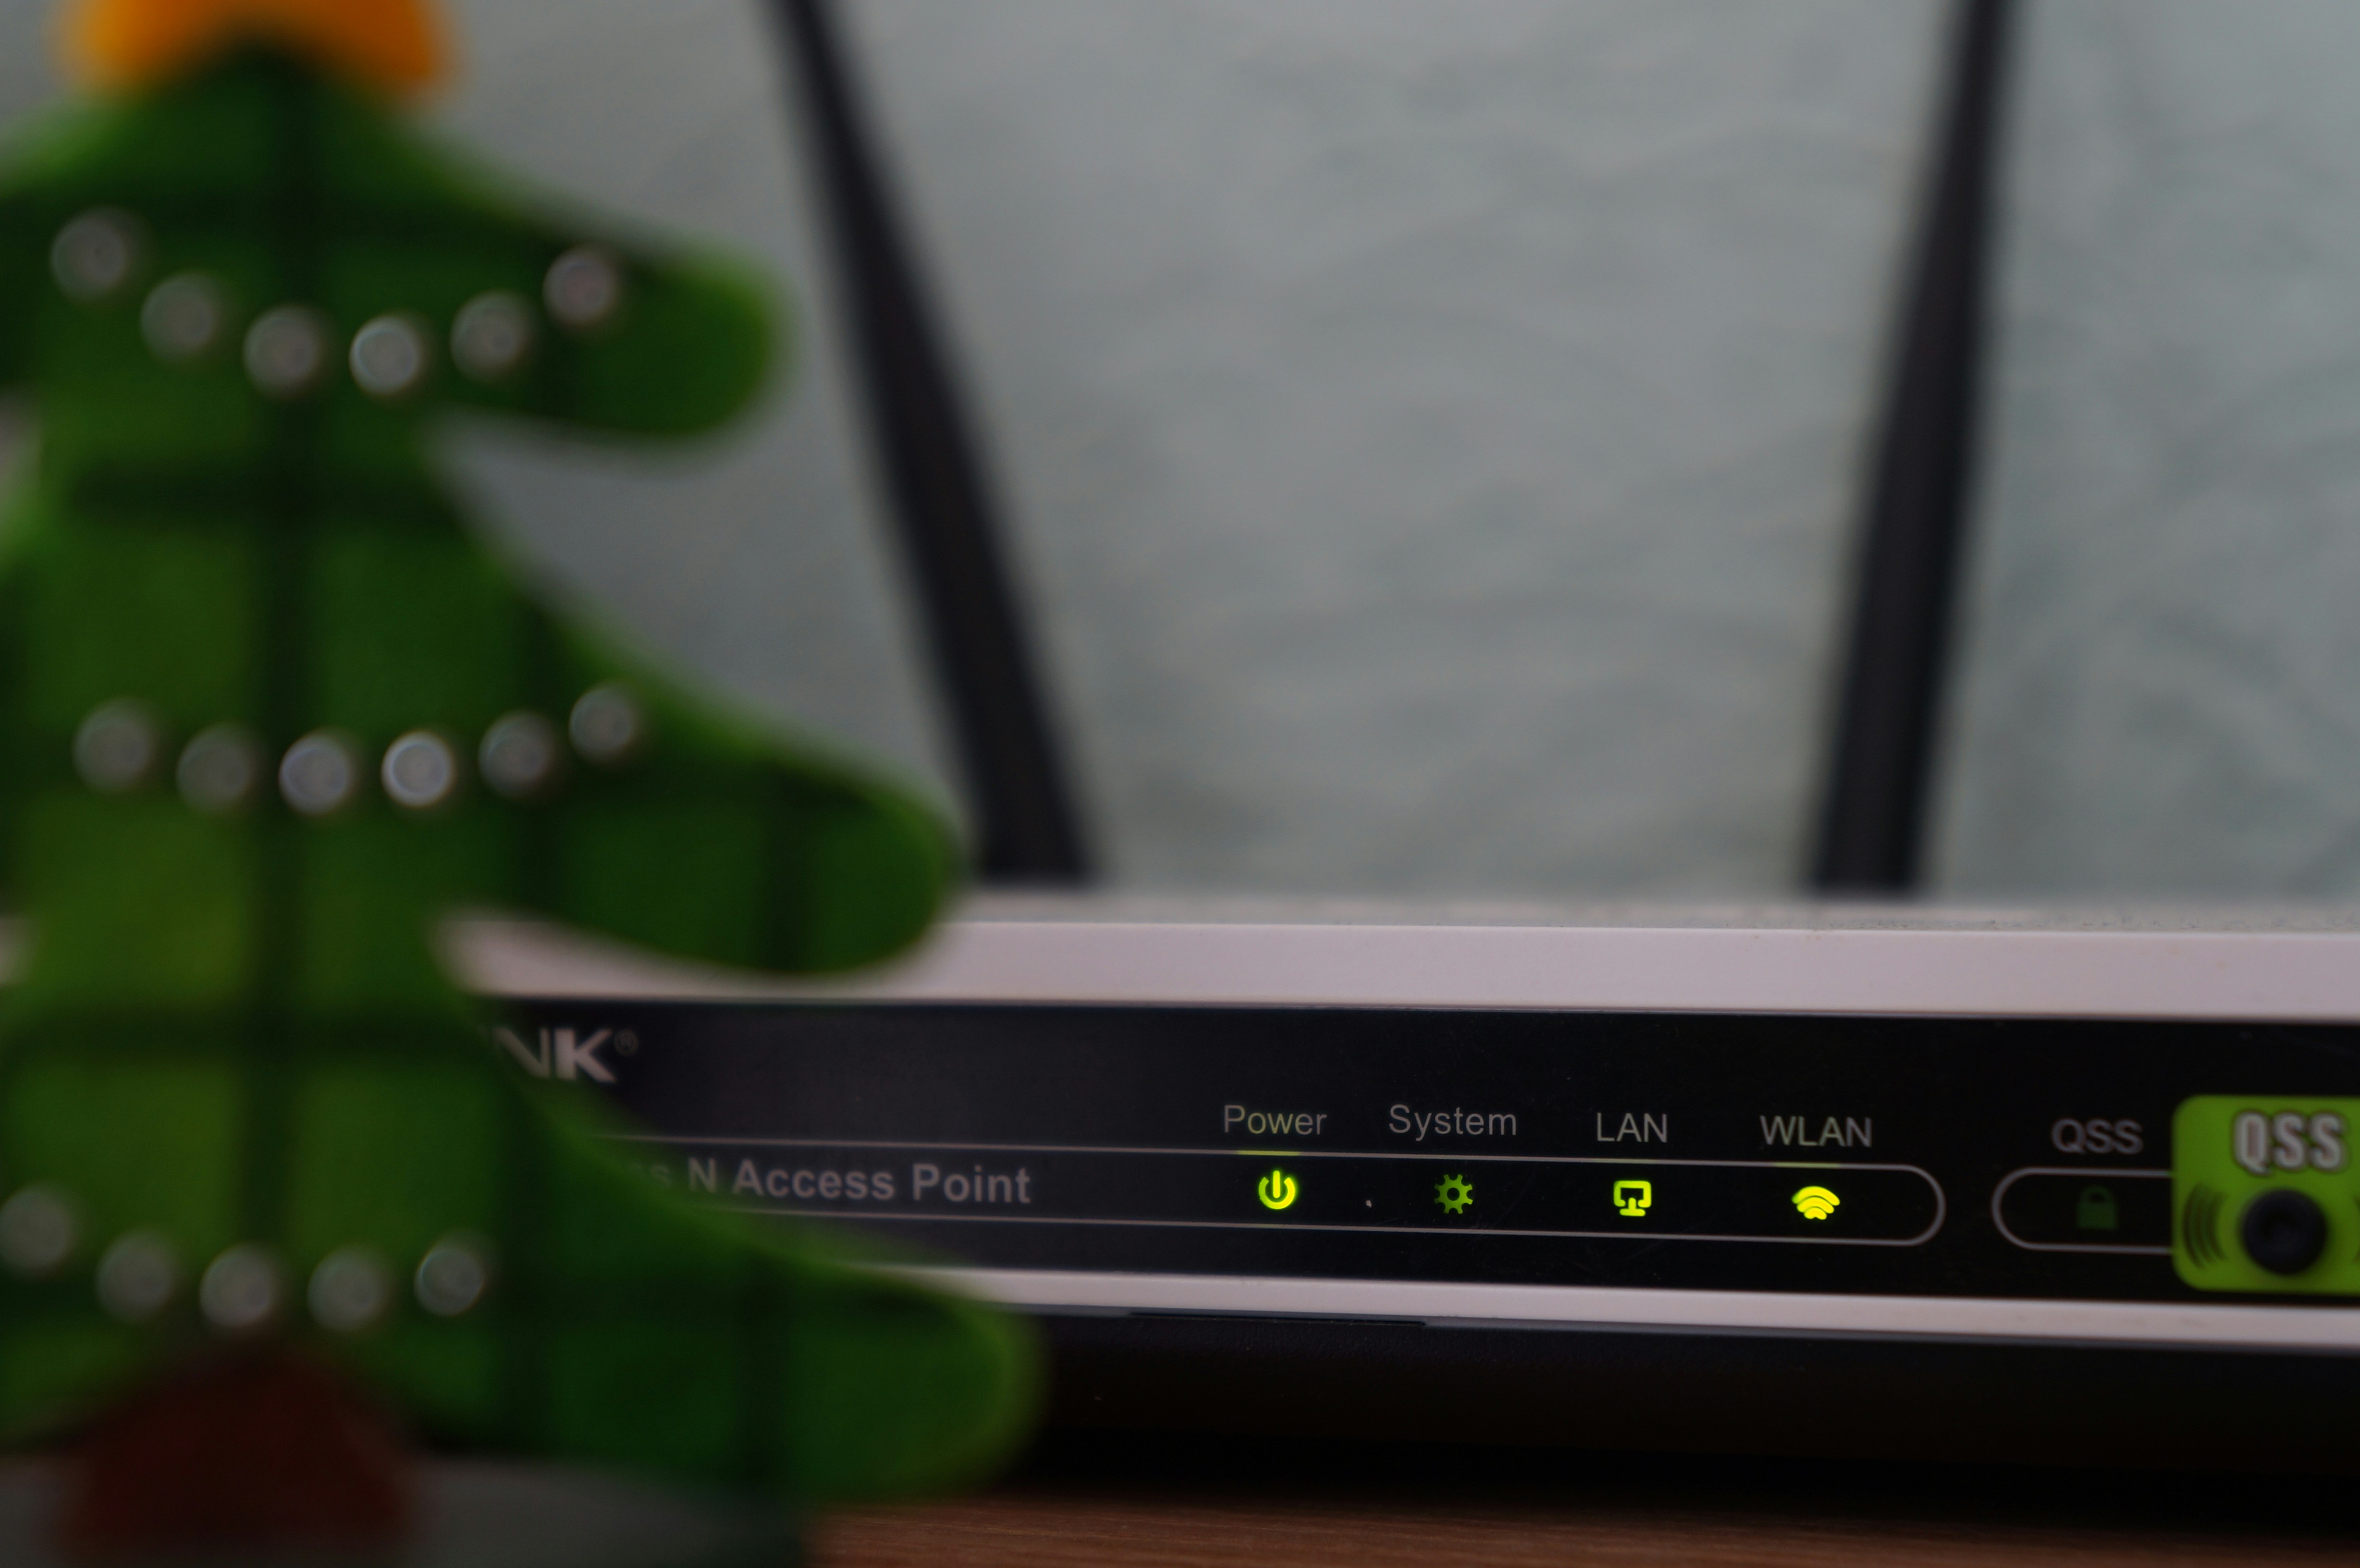
The LED indicators on your router serve as crucial signals regarding its operational status. Understanding these lights can greatly assist you in quickly diagnosing any connectivity issues or confirming successful performance. Most routers are equipped with several lights, each corresponding to different functions, such as power, wireless activity, and internet connectivity.
A router’s power indicator is typically one of the first lights to observe. A steady green light generally signifies that the router is powered on and functioning properly. Conversely, a red or off light often indicates a power problem that may need immediate investigation. Next, pay attention to the internet connectivity light, which might blink or change colors based on your connection status. A solid green light generally means you have a healthy internet connection, while a blinking light can indicate data transmission. If this light is red or off, your router is likely experiencing an issue with the internet service provider or the connection itself.
The wireless activity light is yet another essential LED indicator. This light may blink to confirm wireless data transmission. A consistent light indicates that devices are connected and communicating effectively. However, if this light is absent or malfunctioning, it may suggest issues with your wireless setup or interference from other devices. Lastly, be sure to check any additional lights that might be specific to your router model, as they can provide further insight into features like Ethernet port activity.
In conclusion, learning to interpret the LED indicators on your router can significantly streamline the troubleshooting process. By familiarizing yourself with the meanings behind each light, you can quickly ascertain whether your router is functioning correctly or if there are issues requiring your attention.
Rebooting and Resetting Your Router
When experiencing connectivity issues, one of the simplest yet most effective solutions is to reboot your router. This process involves turning your router off, waiting for a brief period, and then turning it back on. Rebooting helps clear temporary glitches and resets the network connection. To perform a reboot, locate the power button on your router, press it to turn off the device, and leave it powered off for about 30 seconds. After that, press the power button again to turn it back on. Allow the router a few minutes to fully restart before checking your connection.
It’s essential to differentiate between rebooting and resetting your router. While rebooting is a temporary solution that often fixes minor issues, resetting refers to restoring the router to its factory settings. This process deletes all customized settings, including your Wi-Fi name and password, meaning you will need to set up the router from scratch afterward. If you find that rebooting does not resolve the connectivity issue, a factory reset might be necessary.
To perform a factory reset, locate the reset button on the router, typically found at the back. Using a paperclip or a similar object, press and hold the reset button for about 10 seconds until the lights on the router flash. This indicates that the router is resetting. However, before performing a factory reset, ensure you back up any crucial information, as this action is irreversible. Be aware that after resetting, you will need to reconfigure your network settings, which can be time-consuming but is sometimes necessary to restore proper functionality.
When to Contact Your Internet Service Provider
After attempting various troubleshooting measures, such as restarting your router, checking for firmware updates, and inspecting connections, there may still be persistent issues capable of disrupting your internet service. In these cases, contacting your Internet Service Provider (ISP) becomes essential. Certain scenarios illustrate the importance of involving your ISP in resolving connectivity issues.
One of the primary signs that it’s time to reach out to your ISP is when multiple devices within your network experience issues simultaneously. If your attempts at resolving limited connectivity or frequent disconnections have not yielded results, this may suggest an external problem that only your provider can assist with. Additionally, if your internet service is consistently slower than what was promised in your subscription plan, this is another valid reason to seek support from your ISP. They can perform tests to determine if appropriate bandwidth is being delivered to your location.
When preparing to communicate with your ISP, it is vital to have relevant information readily available to facilitate a smooth troubleshooting experience. Be prepared to provide your account information, describe the specific issues you are encountering, and outline the troubleshooting steps you’ve already undertaken. Having this data can significantly expedite the process and help the customer service representative in diagnosing the issue more effectively.
Furthermore, if your ISP has initiated maintenance in your area or if you suspect an outage, confirming this information can save you time. Often, ISPs offer online tools or mobile apps that can provide updates regarding network status and maintenance schedules. Monitoring such resources can provide clarity and assist users in determining whether their problems are localized or part of a broader service disruption.